
How we use our bonus room has changed since we initially set it up. So we gave it a refresh and it’s REVEAL time!

Hi friends! If you follow me on Instagram you know that this “little” room refresh has taken us the better part of a month. What can I say? Between my crazy work schedule leading up to and during the Beautiful Home Beautiful Life summit and traveling for Spring Break, this was not a quick project. But it was definitely worthwhile!
This post contains affiliate links for your convenience. Click here for my full disclosure policy.
This is the first house we’ve ever had that has a “bonus room.” I LOVE having it because it’s a space that we all enjoy together as a family, but it’s also a space that our girls can enjoy by themselves or with friends that is far enough away from our family room and kitchen that Joe and I can be doing our own thing without hearing the foosball banging around loudly.
If you didn’t follow along on Instagram, here’s a bit of a recap. It all started with this rug. I fell in love with this new rug from the Annie Selke Kit Kemp collaboration. We had this old rug for many years and it had jumped from the family room in our old house to the bonus room in this house. But I wouldn’t have chosen it for the bonus room–we used it because we had it (which was true of LOTS of things in the previous version of our bonus room). The moment I laid eyes on the new rug, on the other hand, I felt like this room needed it. I know, dramatic but true. We took some measurements so we could choose the correct size for the area rug and ordered that beauty!
When we initially set up our bonus room, I researched all kinds of bonus room ideas for families and came up with a layout that worked really well for us at the time. But now that our girls are 11-years-old we have found that they want and need more open floor space than our previous furniture arrangement allowed for. That’s mostly because they got these VR devices for Christmas and you need unobstructed space to use them. Fun fact… we all 4 have so much fun with them and play them a lot as a family. Highly recommend.
Soooooooo, since we were going to need to remove all the furniture to swap out the rugs, I said to Joe, “Since we have to move all the furniture off the rug anyway, it may be a good time to rearrange the furniture.” And that, my friends, is called PROJECT CREEP. Happens to us all the time. Can you relate?
I do still have some organzing/storage things to tweak and once I’m done with that, I’m going to share a whole post about our storage secrets in this room in May, so stay tuned for that.
Okay, now that you know how this refresh unfolded let’s dive into the details (and don’t worry, you can find a complete source list at the bottom of this post).
How the Bonus Room Used to Look
Here’s a reminder of what our bonus room used to look like and a reminder of how the furniture used to be arranged.


Once we decided it would be a good time to rearrange the furniture even MORE project creep happened. Because by moving the furniture around, almost everything on the walls would have to be moved as well. And as you may have heard me talk about in my Instagram stories, I didn’t really love the old gallery wall anyway. I mostly hung those framed photos (many of which are 20+ years old) so that we wouldn’t be staring at a blank wall after we moved in, lol. But I knew I wanted something a bit more graphic and colorful than all those black frames. Adding colorful artwork/wall hangings is one of my tips for decorating with color even when it scares you.
Bonus Room Refresh REVEAL
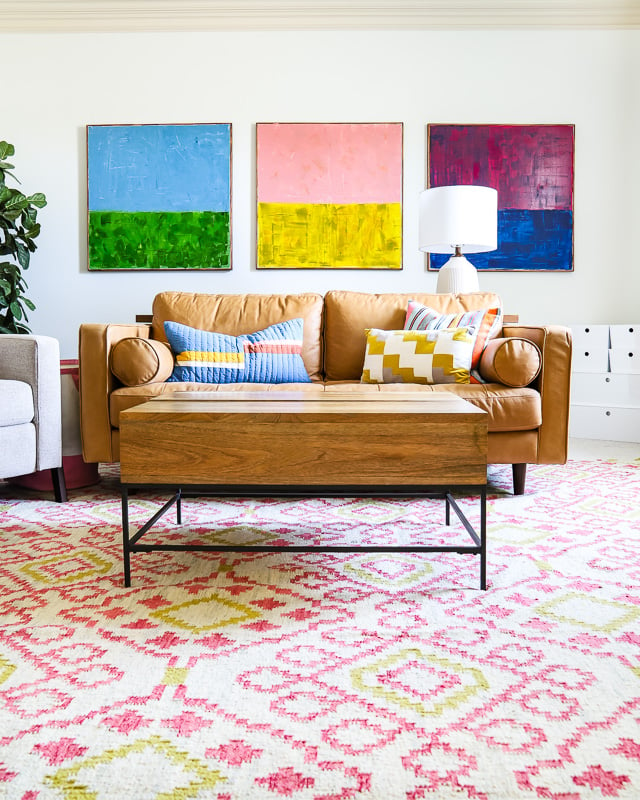
It’s hard to tell from the photos, but we gained A TON of open floor space with this new layout even though all the same furniture was used. Here’s how the bonus room looks now.


Swapping out the curtains and the rug made a HUGE impact in the space. The first curtains I hung always just felt a bit too heavy and formal. These new curtains (which I also used in Attley’s bathroom makeover–they are so good) feel fun and casual, which is exactly what I wanted.

It took me a while to figure out what I wanted to do on the walls. I reinvented our monogram gallery wall by painting some of the As and hanging them on the “new” TV wall. I love a good gallery wall (you can see my favorite gallery wall ideas and tips here). This isn’t a Frame TV (you can read my unbiased review of the Samsung Frame TV here–we have one in our family room). But I DID add some digital art to the screensaver so it’s not such an eyesore when we aren’t watching it. It’s actually really easy to add digital art to any smart TV!


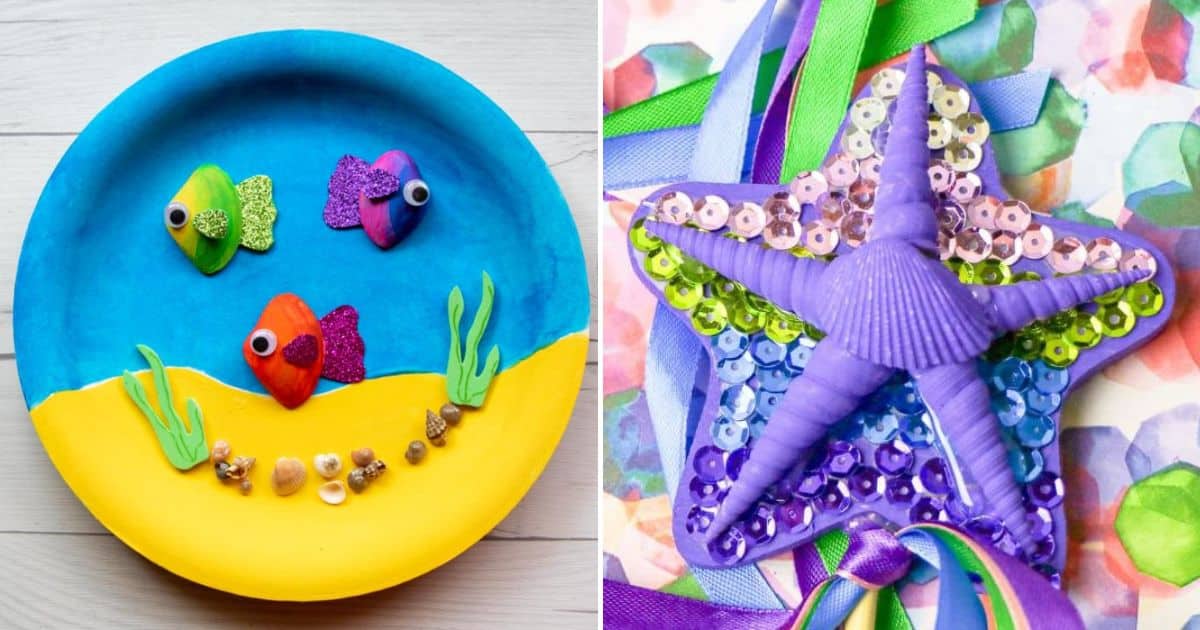
On the opposite wall, I rehung the enlarged DIY watercolor paintings my girls and I did together many years ago.

And I still have the three 36 x 36-inch canvases on the back wall, I just repainted them. There’s a long back story to why I decided to paint over the old canvases that I had painted for our old house–you can hear me talk about it in these saved Instagram stories if you are curious). If you don’t want to DIY artwork yourself, check out my art picks for a family room.

Not much changed on the “recreation” side of the room except for the fact that we moved our Peloton into the space beside our foosball table. And yes, we do store all of their American Girl Doll stuff under the foosball table. It works. I try not to over style my photos to the point that you don’t see how we actually USE the spaces. So please enjoy the view of their horses and bin of doll stuff under the foosball table, lol.

And the girls’ craft desk is still behind the sofa. There are 2 stools that they sit on and that slide under the desk when they aren’t using them. And yes, there’s plenty of clearance to walk behind the desk and sit at it comfortably 🙂 This is one of my favorite IKEA desk hacks (the desktop is an IKEA kitchen counter).

Side-by-Side Comparisons
If you are like me, it’s much easier to “spot the changes” with side-by-side photos, so here you go!
Bonus Room Source List
I’ve included links to everything possible. Some things can’t be linked, like the artwork, because they are DIYs. And I can’t find links to the As on the gallery wall because I’ve collected them over the course of 8+ years. Our exact recliners are no longer available, but I have linked to one that is almost identical. The IKEA cabinets can’t be linked via Like to Know It, but you can find them here.
Scroll and click on any image below for full product details.

We are super happy with how everything turned out. And I’m even more happy that it’s finally done, lol. What do you think?!
Other posts you may enjoy:
Wondering how I approach transforming rooms and spaces in our home? Check out Designer in a Binder®.

And if you want exclusive content and behind-the-scenes sneak peeks, be sure to subscribe before you head out!


